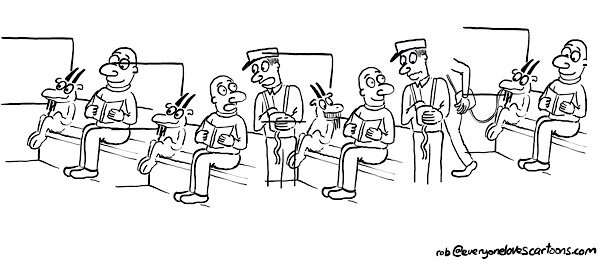
In this article I’m going to break down the step-by-step process of creating a cartoon strip.
How I came up with the idea
I spend a lot of time travelling on trains as I’ve got a pretty long commute. One day I started pondering how how a train journey might go with Gerald onboard, and so I thought I’d explore this idea.
Initial rough sketches
I sketched out the ideas for the four panels separately using a digital 6B pencil on Procreate. This were all saved as separate layers.
One of the beauties of working with separate layers is that it is easy to move them around and try out different layouts before committing.
Planning the layout
The layers are still separate and are shown here overlapping as I play around with the layout. I’ve now added a frame to help guide how it looks.
Adding the panels
I’ve now added the lines that will eventually divide up the panels. I’ll erase them down to size later on.
Inking the cartoon
I’ve now inked both the characters and the background. This is all still on separate layers. The frame and panels lines layers are switched off in this one.
Adding the speech
I’ve now added the narrators bubble and the speech bubbles, also with the dialogue.
Tidying up the layout
There are now separate distinct panels and I’ve eliminated any overlap from panel to panel.
Applying the washes
I’ve now started added washes using a separate layer beneath the outline layer. Next I’ll erase any parts of the wash that have spilled over.
Adding shadow
The wash is now complete. I’ve also added some shadow around the characters.
The finished cartoon
What’s next
Would you like to create your own storylines for cartoons?
In April I’m launching the ‘Storytelling for Cartoon Strips Course’, which will show you step-by-step how to creat simple stories for your characters.
To get on the waiting list, add your name and mail below, and type ‘Yes!’ In the subject line. If you’ve got any questions, please feel free to add them to the message box.


