Lesser Known Dog Breeds - the Alpen Yodel hound

The Alpen Yodel hound is believed to have been bred by the renowned Swiss dog breed Dr. Emile Schezeinfuggelhoffer, who initially achieved fame due to the success of his medical practice, and also the sheer difficulty of spelling his name. In 1839, …

The Alpen Yodel hound is believed to have been bred by the renowned Swiss dog breed Dr. Emile Schezeinfuggelhoffer, who initially achieved fame due to the success of his medical practice, and also the sheer difficulty of spelling his name. In 1839, three hundred and thirty four consecutive attempts were made to spell his names correctly, and all of them failed. It wasn’t until 1841, when a crack team of linguists under the direction ofDr. Hans Zibble, of Vienna University were able to establish the correct spelling.

Dr. Schezeinfuggelhoffer (from now on to be referred to as ‘Dr. S.’ so as to save on ink) was a keen amateur yodeler, who greatly enjoyed practising the Swiss art.

yodelhound-2

Unfortunately, his wife, Frau Schezeinfuggelhoffer (formerly Fraulein Pof) failed to share his love of yodeling, in fact she detested it, and banished him to practising as far away from the house as possible. Seeking solace, and a good place to practice, Dr. S retreated to the alps to further his art. While now able to practice unhindered, Dr. S. felt somewhat lonely, as living in a very remote part of Switzerland, it was almost impossible to find people to practice yodeling with.

yodelhound-3

Reasoning that as many dogs like to bay at the moon, Dr. S hit upon the idea of developing a new breed of dog so as to provide a companion for himself, and other isolated yodelers with unreasonable wives.

Dr. S wanted a hardy breed that was able to cope well with the sometimes harsh conditions in the alps. So using a Pyrenean mountain dog dog seemed a naturally good start. Pyrenean mountain dogs are a very large breed, with a correspondingly large and healthy appetite, so Dr. thought about crossing it with a Jack Russell terrier, so as to create a new breed of a more manageable size, and also to reduce the food bill. Fortunately for Dr. S. a friend from the next valley had a Jack Russell who was very vocal, and could in fact be heard an entire valley away. Anyone familiar with Jack Russells will know that they don’t actually know that they are a small dog anyway, and so the breeding process went smoothly.


yodelhound-4

Later on, Swiss mountain rescue teams experimented with pairing Yodel hounds with St, Bernards, the idea being that the Yodel hound would use it's disttinct voice to alert the St. Bernard to a climber in need.

Dr. Schezeinfuggelhoffer later re-married a Miss Claudia Zunkenhuffbozugler, and they combined their family names into one double-barrelled one. It remains unspellable to this day.


Gag Generation Idea - No. 5 - keeping a template

This is a little similar to a previous gag generation idea, whereby you returnto a previous cartoon and try to add new elements to create new gags.


For this idea, you use a template to help think up new gags.

Here is a template of Gerald the goat dreaming.

gerald-the-goat-dreaming-template

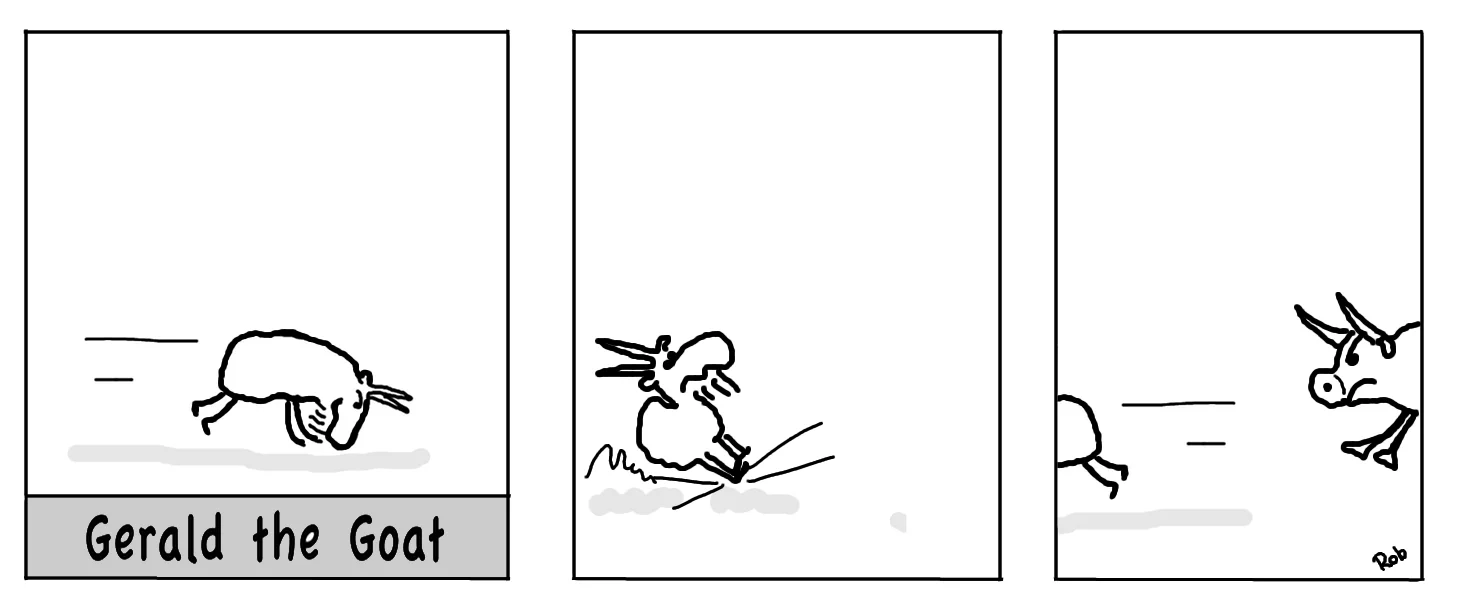
Here are two ideas created using the template.

gerald-the-goat-strip-20
gerald-the-goat-strip-21

About the Cartoonist

Hey there, my name is Rob Middleton. I'm 'THE CARTOONIST.'

I pride myself on drawing your pets and other animals. Whether they be to gift another or too memorialize a beloved four-legged, or feathered family member a well-drawn cartoon is the perfect personalised gift to give someone in this hyped-up, photoshopped world we live in. I can also illustrate your articles, blog posts, or anything else you can think of.

Oh, yeah... one more thing.

I ALWAYS deliver on time.

I am currently for hire so, if you would like to speak to me directly you can email me by using the form below.

How I create the Lesser Known Bird species cartoons

For the last couple of weeks I've been creating a series of 'Lesser Known Bird species' cartoons. So I thought that I'd go throught the process for putting them together step-by-step.

1. The Idea.

I've always found Magpies to be very aesthetically pleased, with their bold black and white. Seeing as Magpies have   a reputation of being attracting to shiny things - and steling them - I thought I'd play around with this idea and bring it more up to date.

magpie-3000-process-1

2. I got a picture from Pinterest to use as a reference.

magpie-3000-process-2

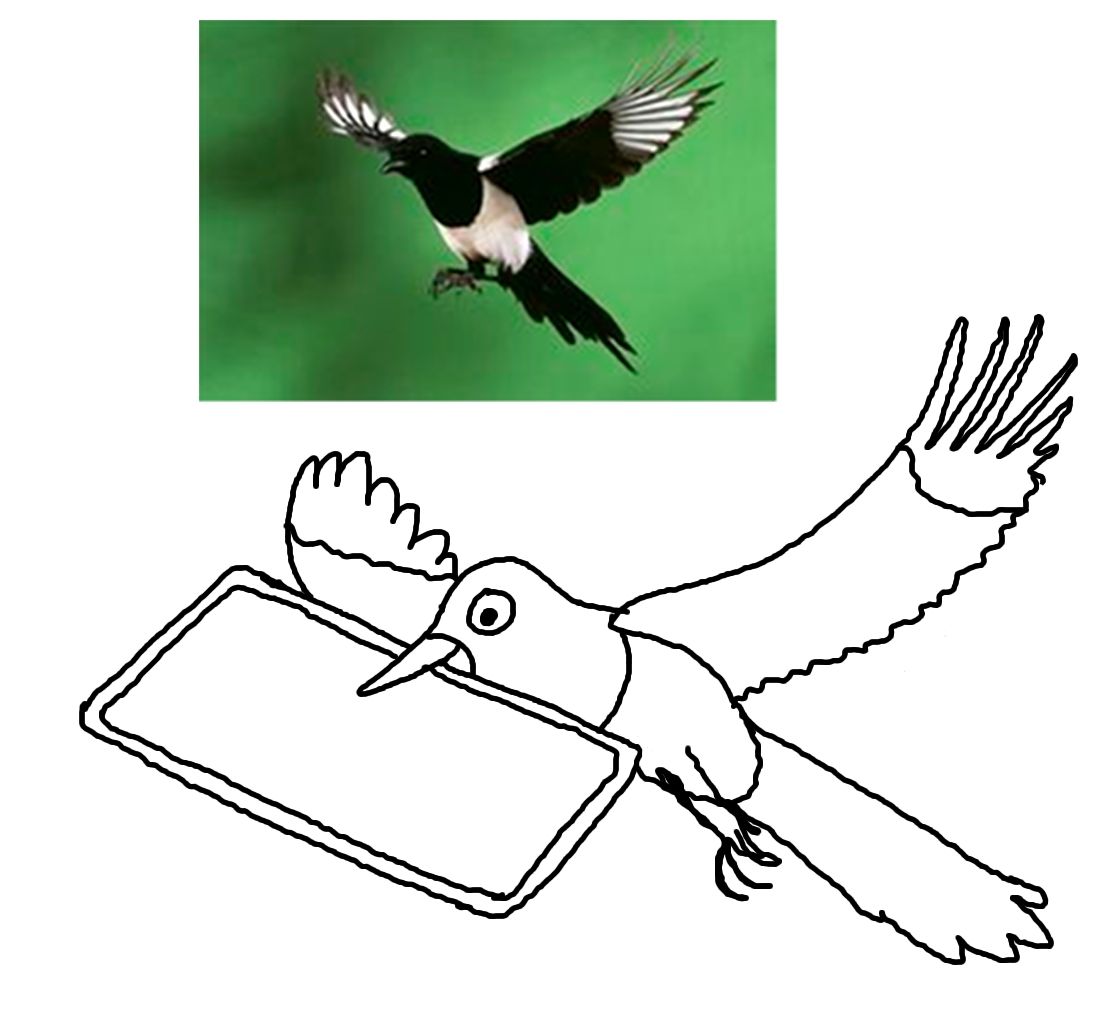
3. I copied the picture, simplifying it a little, and making the head of the bird more cartoony.

magpie-3000-process-3

4. I then positioned the bird as I imagined it in the finished picture.

magpie-3000-process-5

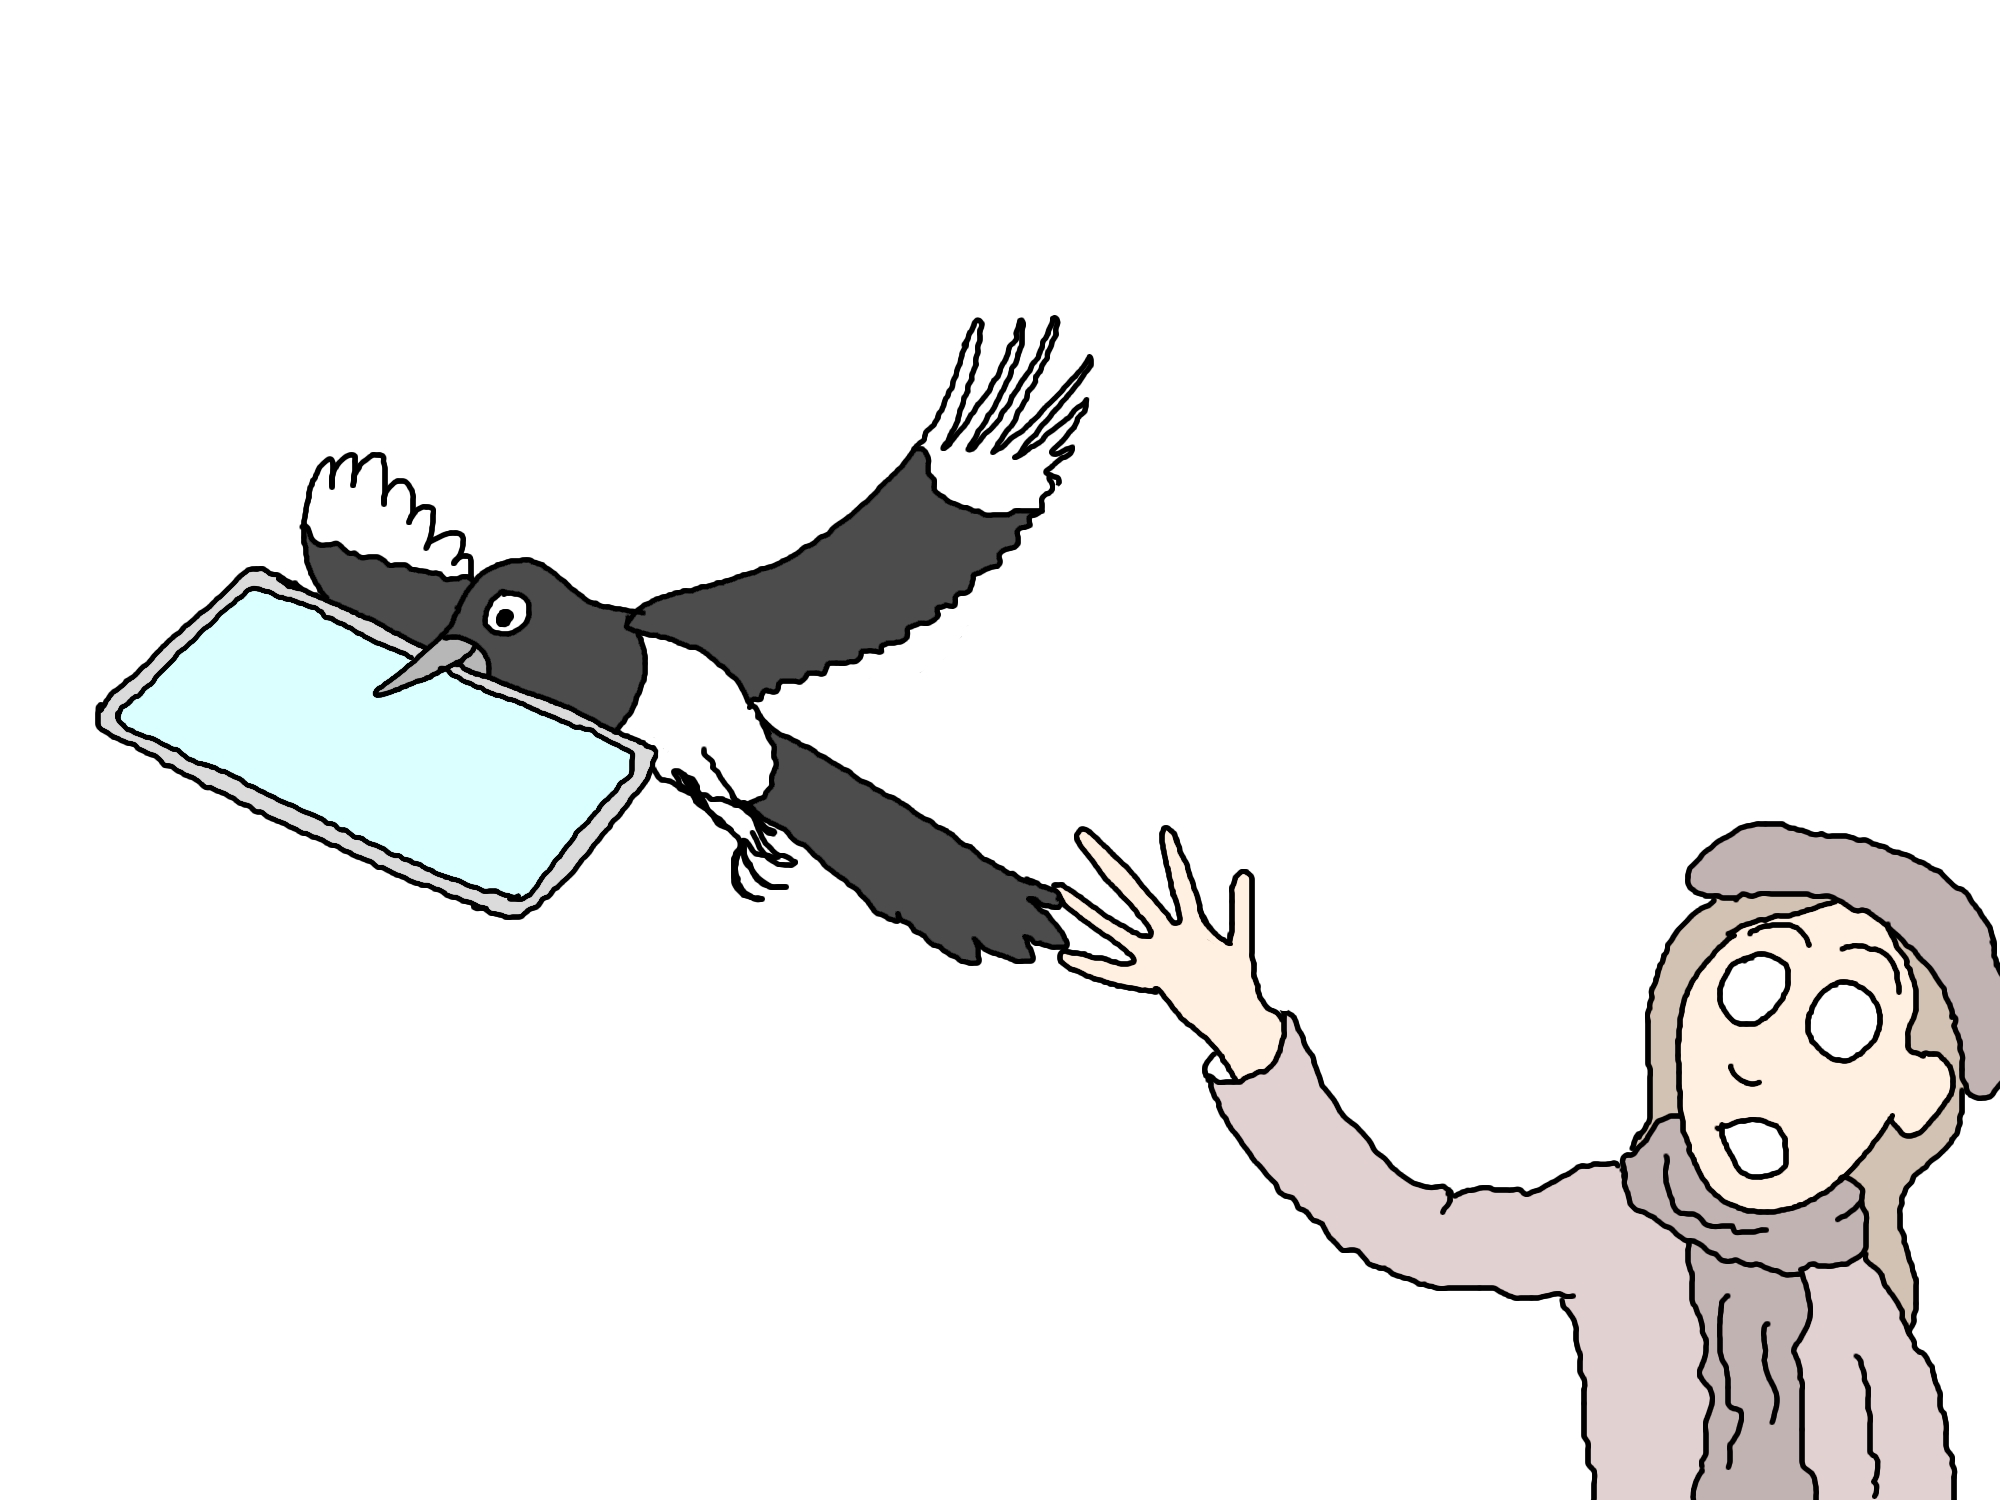
5. I drew in the woman who has just had her phone snatched, and then filled in the characters. I set the bucketfill at 70% opacity. I usually don't fill in black areas at 100%, as I feel it can be too much.

magpie-3000-process-5

6. I choose black and set the paintbrush to 20% opacity to use to outline parts of the characters to give the impression of form and depth.

magpie-3000-process-6

7. I then added lines to give the impression of movement, and added the woman's eyes.

magpie-3000-cartoon-b

8. Finally, I added the title, caption, signature, border, and email address.


That's it!


Hope you enjoyed it.

About the Cartoonist

Hey there, my name is Rob Middleton. I'm 'THE CARTOONIST.'

I pride myself on drawing your pets and other animals. Whether they be to gift another or too memorialize a beloved four-legged, or feathered family member a well-drawn cartoon is the perfect personalised gift to give someone in this hyped-up, photoshopped world we live in. I can also illustrate your articles, blog posts, or anything else you can think of.

Oh, yeah... one more thing.

I ALWAYS deliver on time.

I am currently for hire so, if you would like to speak to me directly you can email me by using the form below.


Mmm!....brownies!

wonderstuff-browniecar-cartoon

Here's one I drew forbrownie bar company a while ago.

Nothing like the smell of freshly baked brownies!

Need something drawing?

Drop me a mail - I'd love to hear from you!

The Lady and the Crocodile - strip no. 2

Yesterday's strip was the first time that I'd tried a polyptych, so I wanted to continue with this style today. I thought that I'd keep it fairly simple, as I'm still getting the hang of creating this style, so I based the background on yesterdays, altering a little and adding a church.

As the new idea also featured the two characters still walking along the riverbank, I copied the pose from yesterday and altered slightly. I also drew two different poses of a new character- an angler.
I then laid the characters on a transparency how I thought they would appear in the final strip.

I then added this transparency to the background. After that I put another transparency on top to lay the text onto.

Next, I drew the speech bubbles and filled them in with white.

Almost there...I erased the surplus lines from the speech bubbles.

Finally, I cut the strip into three panels, and added the borders, strip name, and signature.

How I draw Gerald the Goat

Gerald is a very simple character to create and draw, but I thought i'd still talk through how I produce a strip.

In the previous strip I created another one featuring Gerald trying to deal with his nemesis - the bull.

The idea I had for the follow-up strip was to have Gerald floating over the bull with the assistance of some balloons. It would only be in the third panel where you get to see the balloons, the first consisting of just the bull looking up, and the second with Gerald looking down and with some strings attached to his back.

Gerald doesn't change much. Here is the basic pose of Gerald that I used variants of for most of his drawings.

First, where possible, I copied the characters from previous strips. This is partially to speed the process up, and partially to ensure the consistency of look of the characters from strip to strip.

Next, I laid out the characters in approxiamately the final positions I had envisioned in the completed strip.

After that, I added the panel frames.

Finally, I tidied the strip up, added the names and signature.


That's it!

Would you like me to create you your own strip?

Whether it's for a business, or as a fun gift to give to someone, I can create a unique strip just for you. Drop me a mail and we'll chat further.


How to make a polyptych

One of the assignments in the cartoon course last week was to write down our three favourite cartoons. I was always a huge fan of the Perishers, written by Maurice Dodd and Drawn by Dennis Collins, that used to run in the Daily Mirror.

One feature of the Perishers was that many strips were polyptychs - a single continuous background image divided into separate panels, with the characters moving across it from panel to panel. Here is an example.

I'd always wanted to have a go at creating a polyptych, but had never gotten around to it. Seeing as I wanted to try creating a strip that was more complex than Gerald the goat, I thought it would be perfect time to try this style. For the characters, I decided to use the woman and the crocdile who had featured in several single panel cartoons over the past month. These pictures were drawn in ballpoint, and then scanned in to colour and finish. As there were quite sketchy, I decided to draw some slightly simpler characters based on them using the tablet, so as to speed up the process.

lady-croc-2

First I drew the two characters, and then produced two different sets of poses based on the originals to speed up the process, and keep new drawing to a minimal. This would also ensure that the characters would remain consistent from panel to panel.

I then laid out the characters as they would appear in the final drawing.

I put a transparent layer over the characters and then drew the background, using the characters as a guide for scale.

The characters were then put on top of the background.

lady-croc-strip-1-process-4.jpg

I then flipped the image and colour it in. After that I added the writing, and then the speech bubbles around them. Finally, I broke the image up into three panels and added the border.

Gag writing

First, create a background for your character.

Is it a he or a she?

Where does he/she live?

How old?

Etc

The more you get inside the head of your character, the easier it will be to think up comic situations to put them in.

And don’t forget to give your character a name!

Let’s start by asking the question, ‘What is it the character likes to do?’


Write down anything that comes to mind.

Well, goats like to eat….anything….they have a bit of a reputation you know!

Okay, so let’s narrow it down to eating.


So let's think of some things they like to eat.


Let’s choose flowers. Should be a few potential situations there.


Okay, now let’s ask the W and H questions:

Who…?

Where…?

What…?

Why…?

When…?

How…?


For example:


Whose flowers are they?

Where are the flowers?

What flowers are they?

Why is the goat eating the flowers?

What time of day is it?

How is the goat eating the flowers?


Note: note all gags are good gags. We’re not aiming to produce the ‘perfect’ gag (whatever that is) the idea is to generate a large number of gag ideas which you can then choose to develop if you want